


During the couple of weeks before the "memories" post, I decided that I needed to find a better location to grow the tomatoes that I had started in 6-packs. The problem was that the places I had been growing tomatoes for years had become unsuitable. My "traditional" landscaping had become more "mature" and was now providing too much shade for the tomatoes to be happy. The first several years, I had grown groaning boards-full of tomatoes of all sorts -- cherry, beefsteak, pear, lemon -- but now I was hard put to get an Early Girl to do anything but curl up and die.
So, I had to go out to the back yard where there was an area of under-productive ground next to the back fence. It gets blazing sun from noon till almost sunset. The growing bed is a full four feet deep and I figured I could reclaim about eight feet of running length.
The "reclamation" involved pulling and digging lots of rampantly, wildly, berzerkly-growing parsley that was going to seed along with some freely-reseeding calendulas. It also involved removing five 18" x 18" square plastic planters, dumping them out, and composting their contents (mostly aging bearded iris and daffodils with weeds). The poor planters were starting to split down the sides at their corners (plastic will do that after 10 years of exposure to the elements), but were otherwise OK.
Not being one to be able to just ditch something that has *some* use left in it, it occurred to to me that I could cut the bottoms off the planters, sink them much of the way into some holes, and back-fill with compost, thus creating miniature raised planters/planting hills.
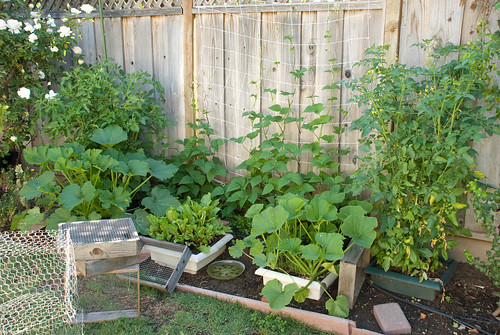
In the above photo, you can readily see two of the white and one of the green planters that have been converted into "raised planters." The arrangement before you goes like this:
- On the left (north) end (next to a rose bush) is a beefsteak tomato in a green tub, interplanted with basil
- In front (to the west), to the right (south) is a white tub with 2 seeds each of 3 colors (yellow, pale green, and dark green) of zucchini interplanted with scallions
- To the right of the zukes is a tub of beets (a variety that is more focused on growing greens rather than roots because I like the greens, too)
- To the right of the beets is a white tub with 2 seeds each of 3 colors (yellow, pale green, and dark green) of scalloped squash (aka Pattypan squash) interplanted with scallions
- To the right, to the back is another green tub with a Super-Sweet 100 (cherry) tomato, interplanted with basil
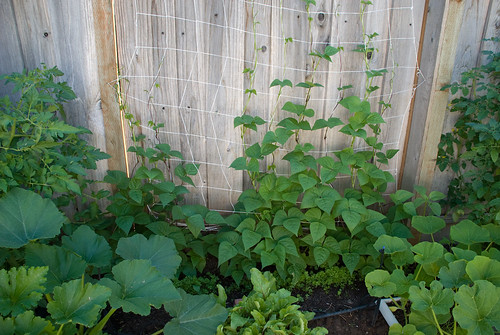
- Between the tomatoes, against the fence is a row of 3 colors (green, yellow, and purple) pole beans planted directly in the soil and climbing up a string trellis
- In front of the beans is a row of carrots.
So, that's my 4' x 8' vegetable garden. It was planted rather late in the year, but it should continue growing and producing late into the fall. The zucchini and the squash will give up first by giving in to mildew when the days become sufficiently short, cool, and moist. But note that the both tubs are interplanted with scallions! Those will continue to grow through the winter... or until I finish harvesting and eating them. :-) The beans and the tomatoes will continue, albeit slowly, until a hard freeze and the carrots will continue till I finish harvesting them.
Here you can see the row of carrots at the feet of the beans climbing up the trellis. (Remember the post on vertical gardening?)
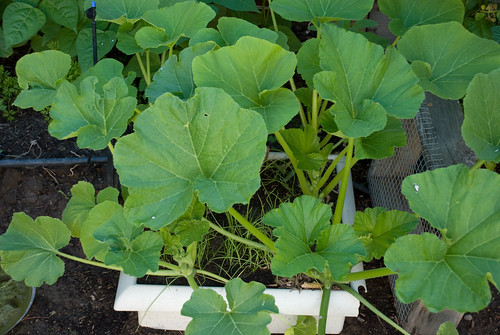
And here you can see the scallions interplanted with the summer squash.
You may have also noted the various screened frames stacked on the lawn or next to the tubs. Those were needed to keep from feeding my seed to the birds, feeding the sprouts to the snails, and keeping the neighborhood cats from using my veggie garden as a litter box. Now that everything is up and *well* beyond the bounds of the screens, I can store them for the next time.
No comments:
Post a Comment